Docs / DQ Core — Basics
Setting up your venue
In under 5 mins, you can be selling tickets, booking tables, popping bottles. Here's how you get started.
Get started in under 5 mins
Download the DQ Core App
Download the DQ Core app from the iOS App Store (Android is coming soon).
Create an account
Anyone can create an account and either join a venue they have been invited to, or start a new venue.
Set up your venue
Select "Create New Venue". Add the name of your venue and the website. We'll find your venue logo and use it for public bookings.
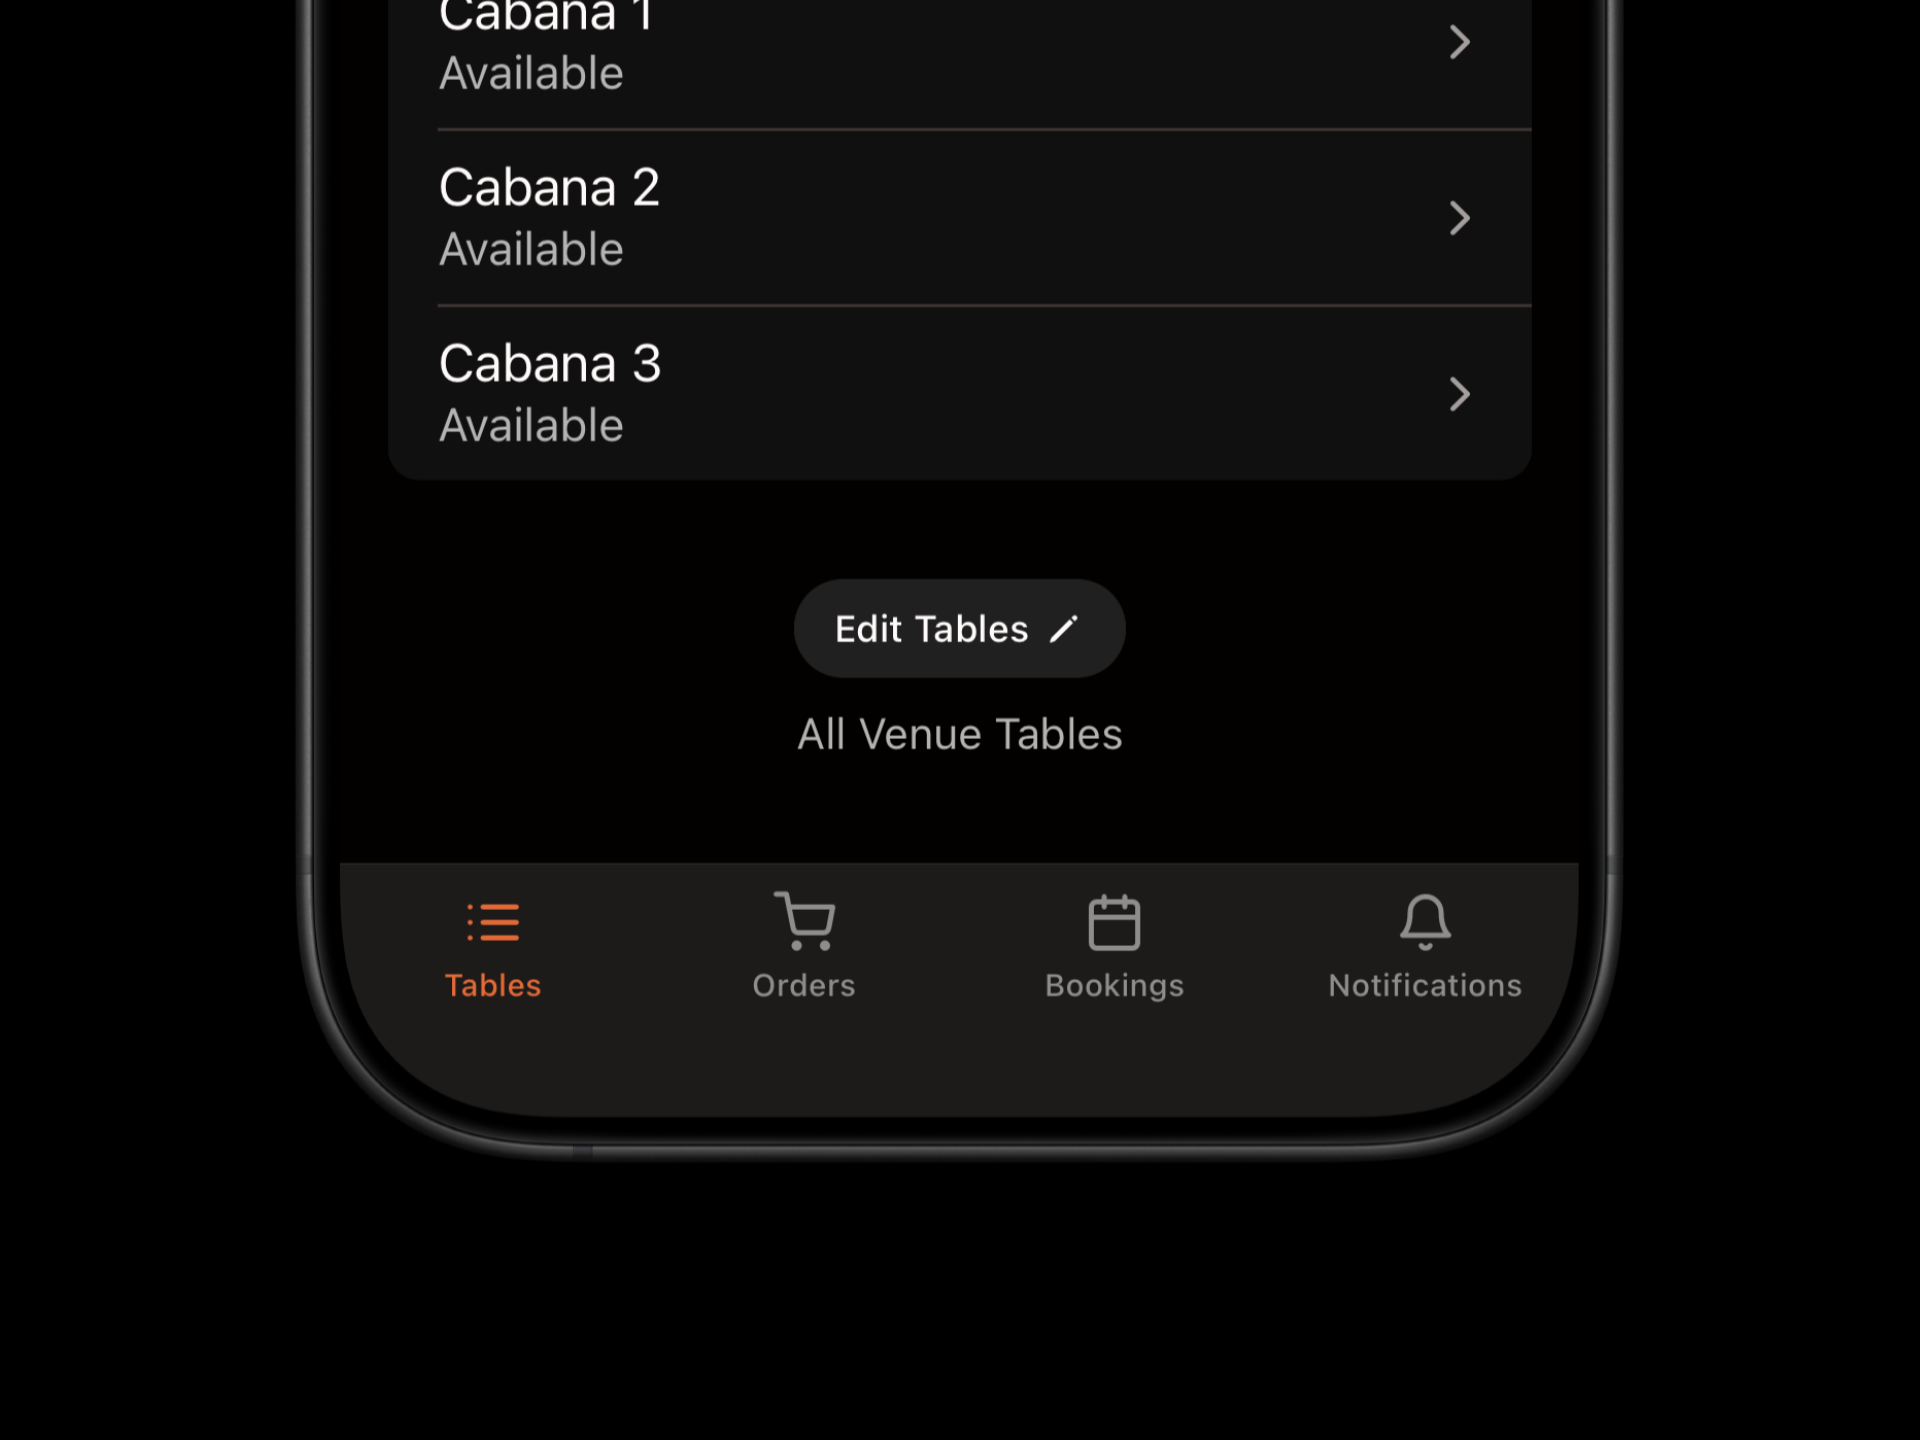
Add Your Tables
The first time you log in, you'll notice three tables are already created. Rename these and add others by tapping "Edit Tables" at the base of the screen. Once you have added your tables, tap "Finished Editing"
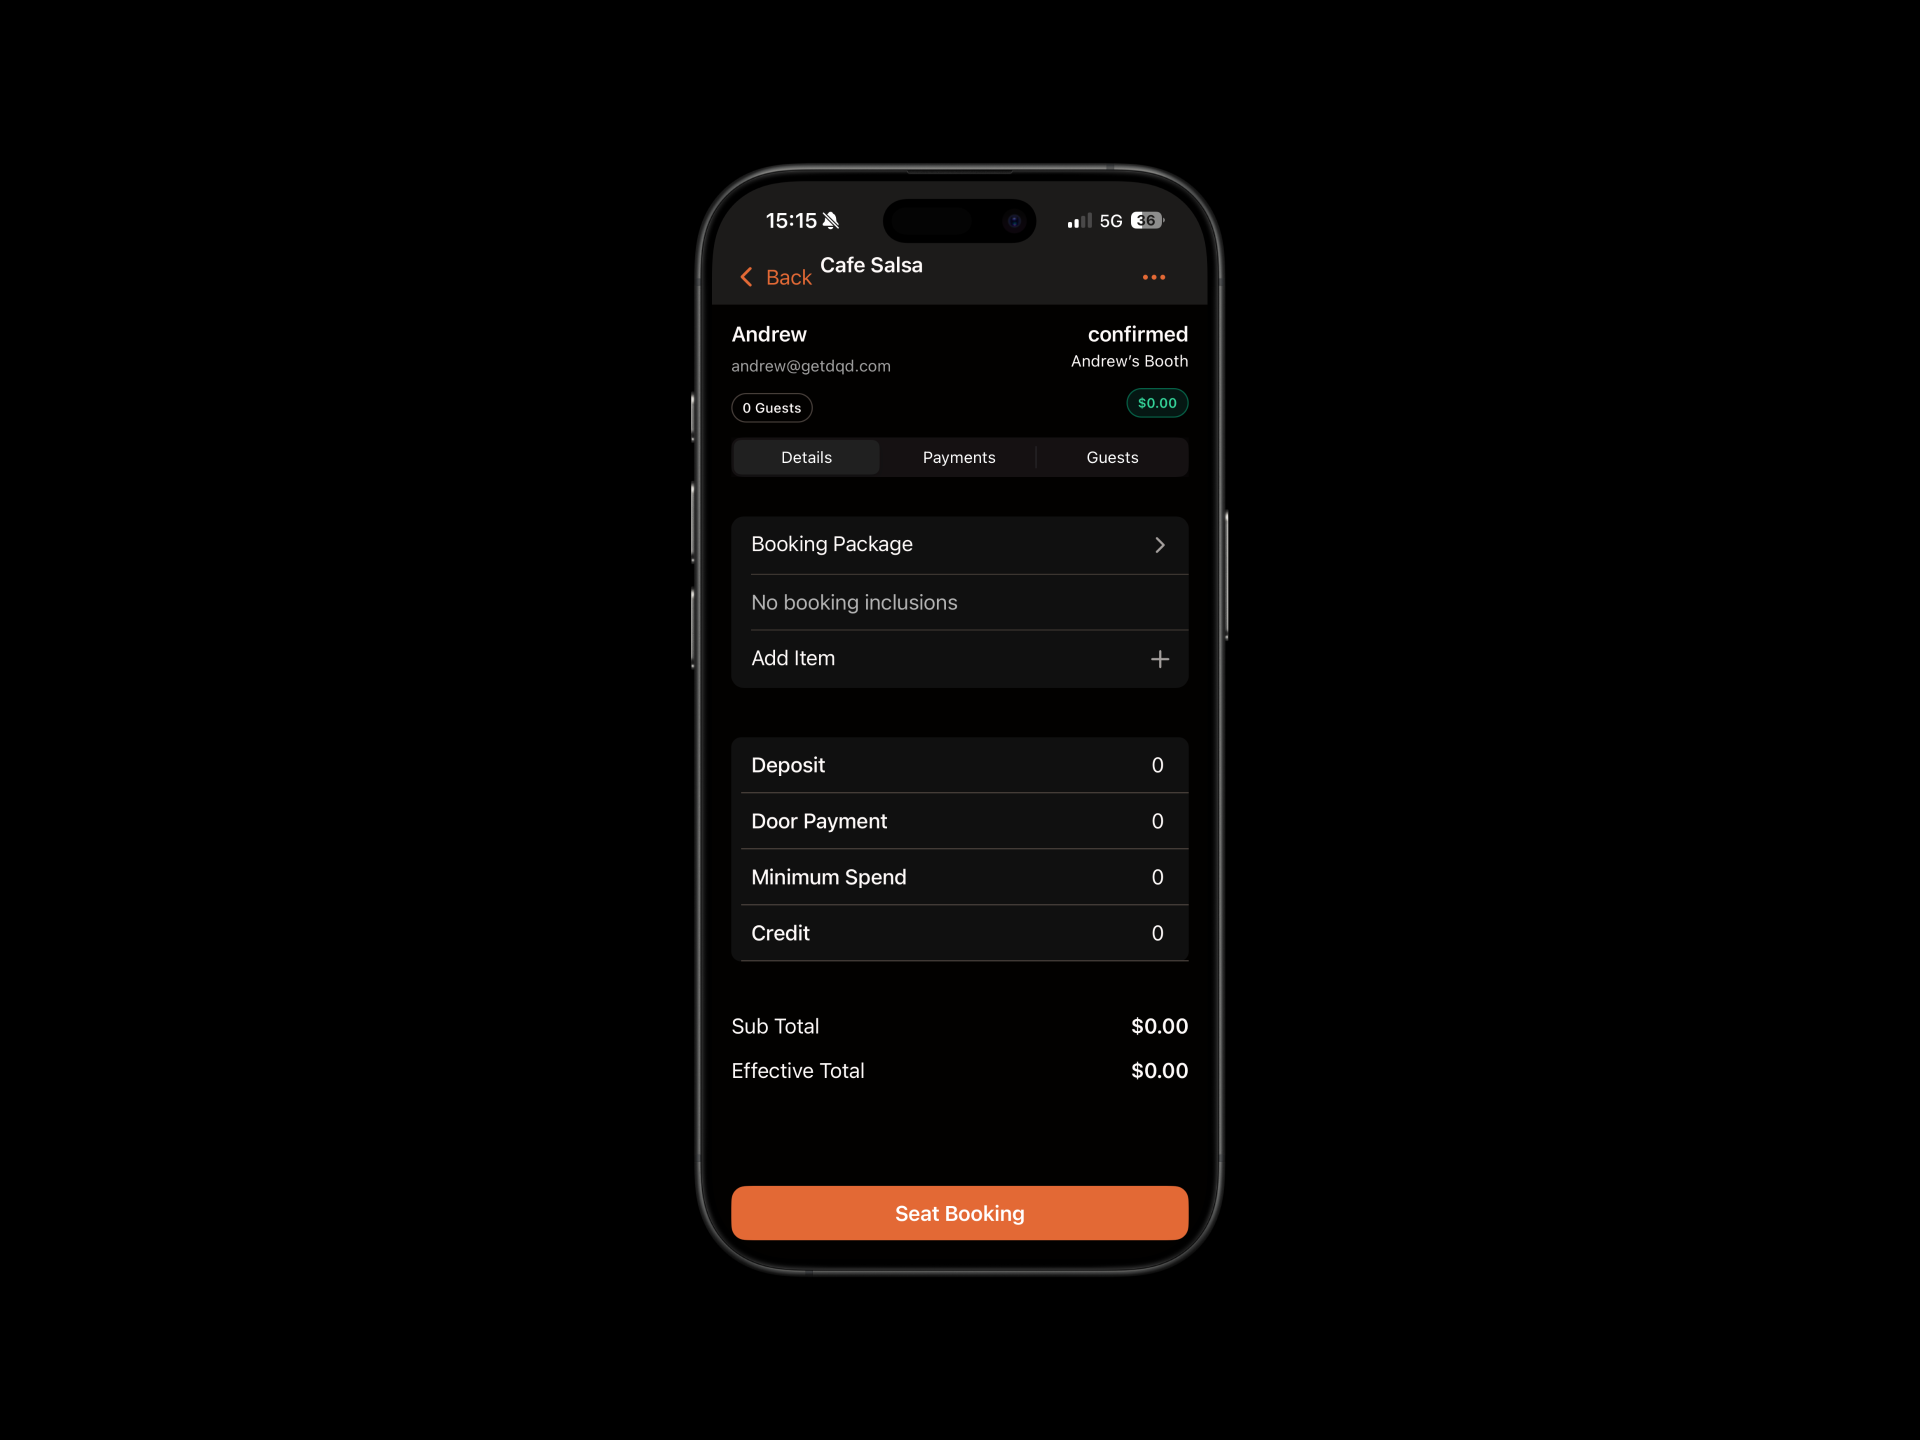
Seat your first booking
Navigate to the bookings tab. If this is the first time you've used DQ, you'll notice a demo booking for Andrew. Seat this booking by tapping Seat Booking and then View Table.
Customise Your menu
You can customise the menu at any time. Simply view the table menu and select "Edit Menu". To save time, you can send the menu to us and we'll add it for you.

Invite your Squad
DQ works better together. Invite the teammates you work with and watch as DQ simplifies your VIP workflow. Tap on the Menu icon and select "Manage Staff" to invite teammates.
Things to do next:
Set up events and start selling tables or tickets
Create and add guest lists and ticketing
Customise table packages
Add Stripe to start taking web and in person payments
Was this helpful?